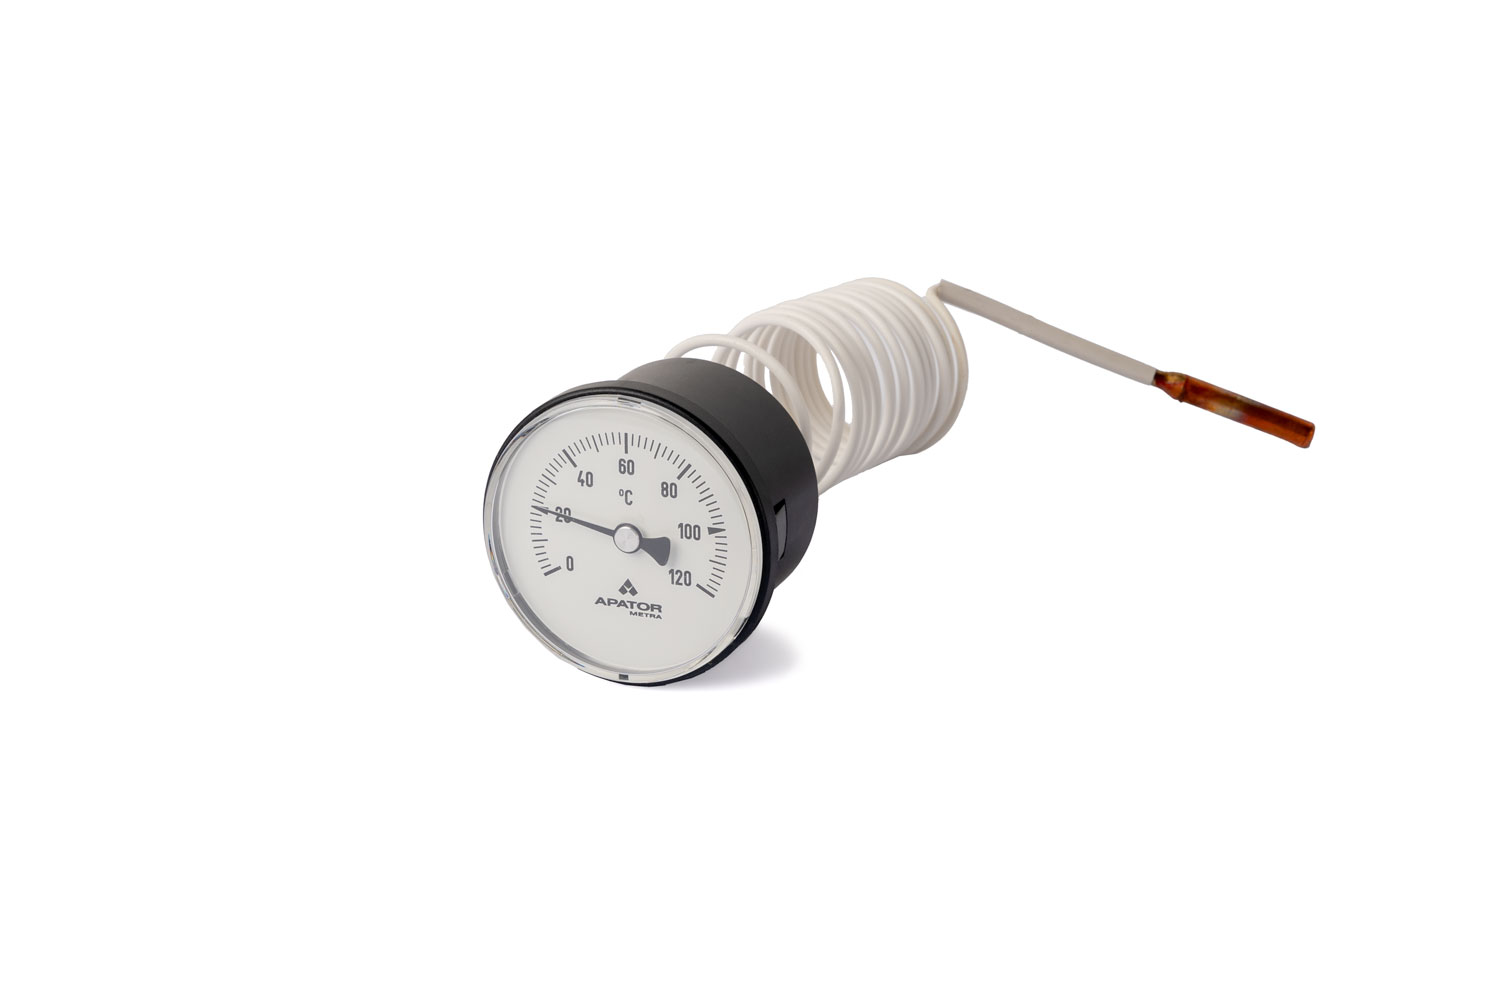
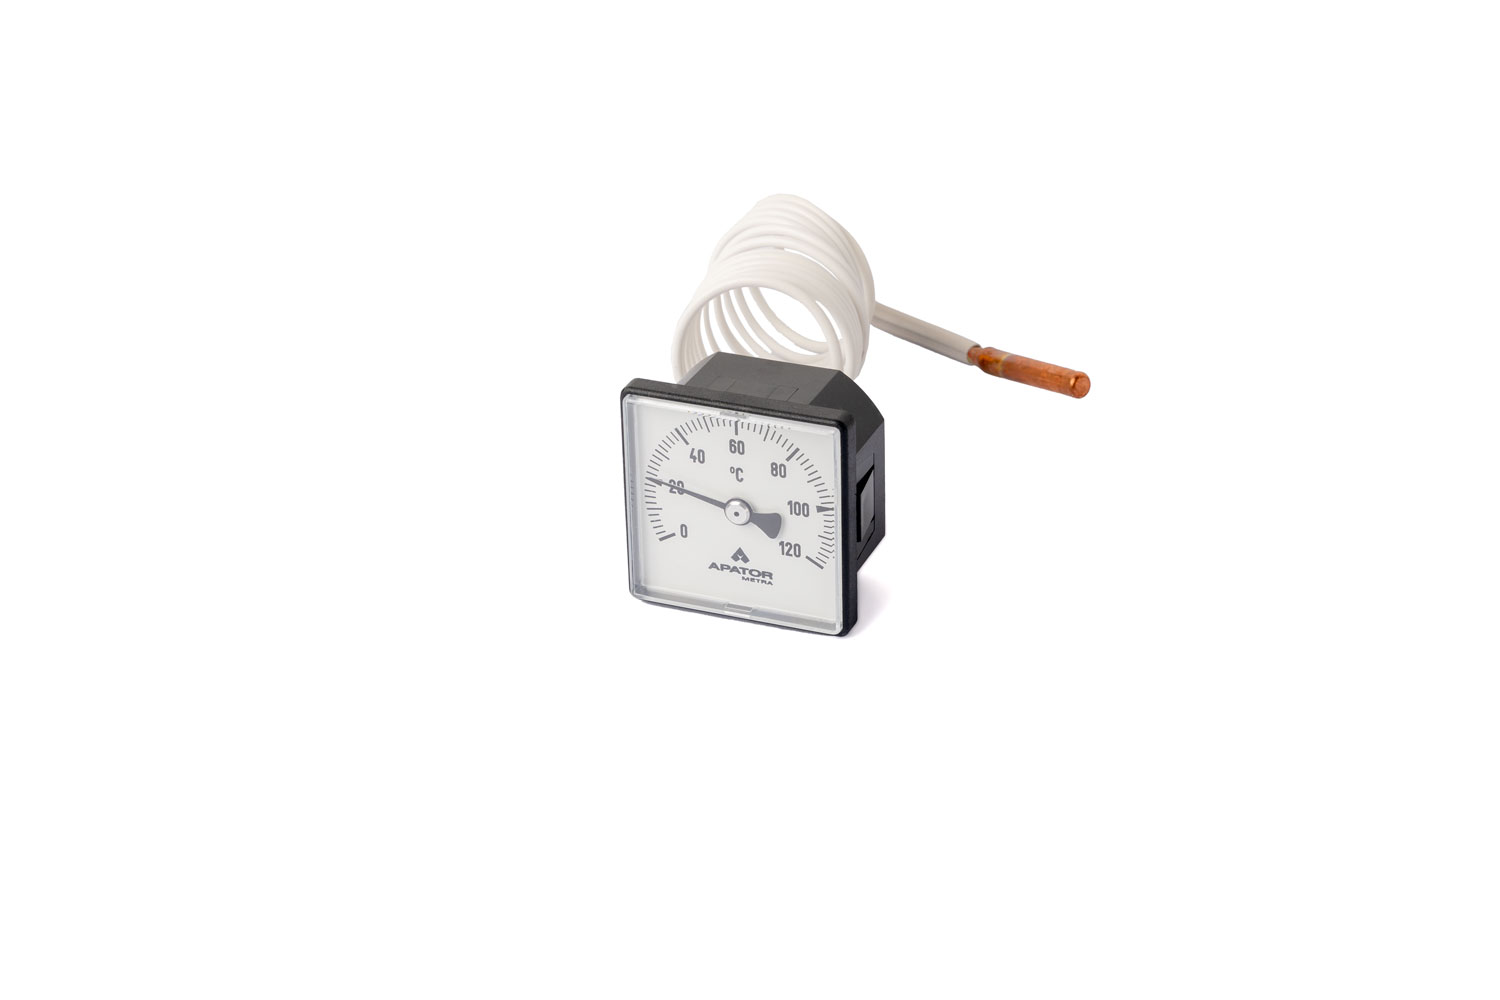
Manometer MCS 48
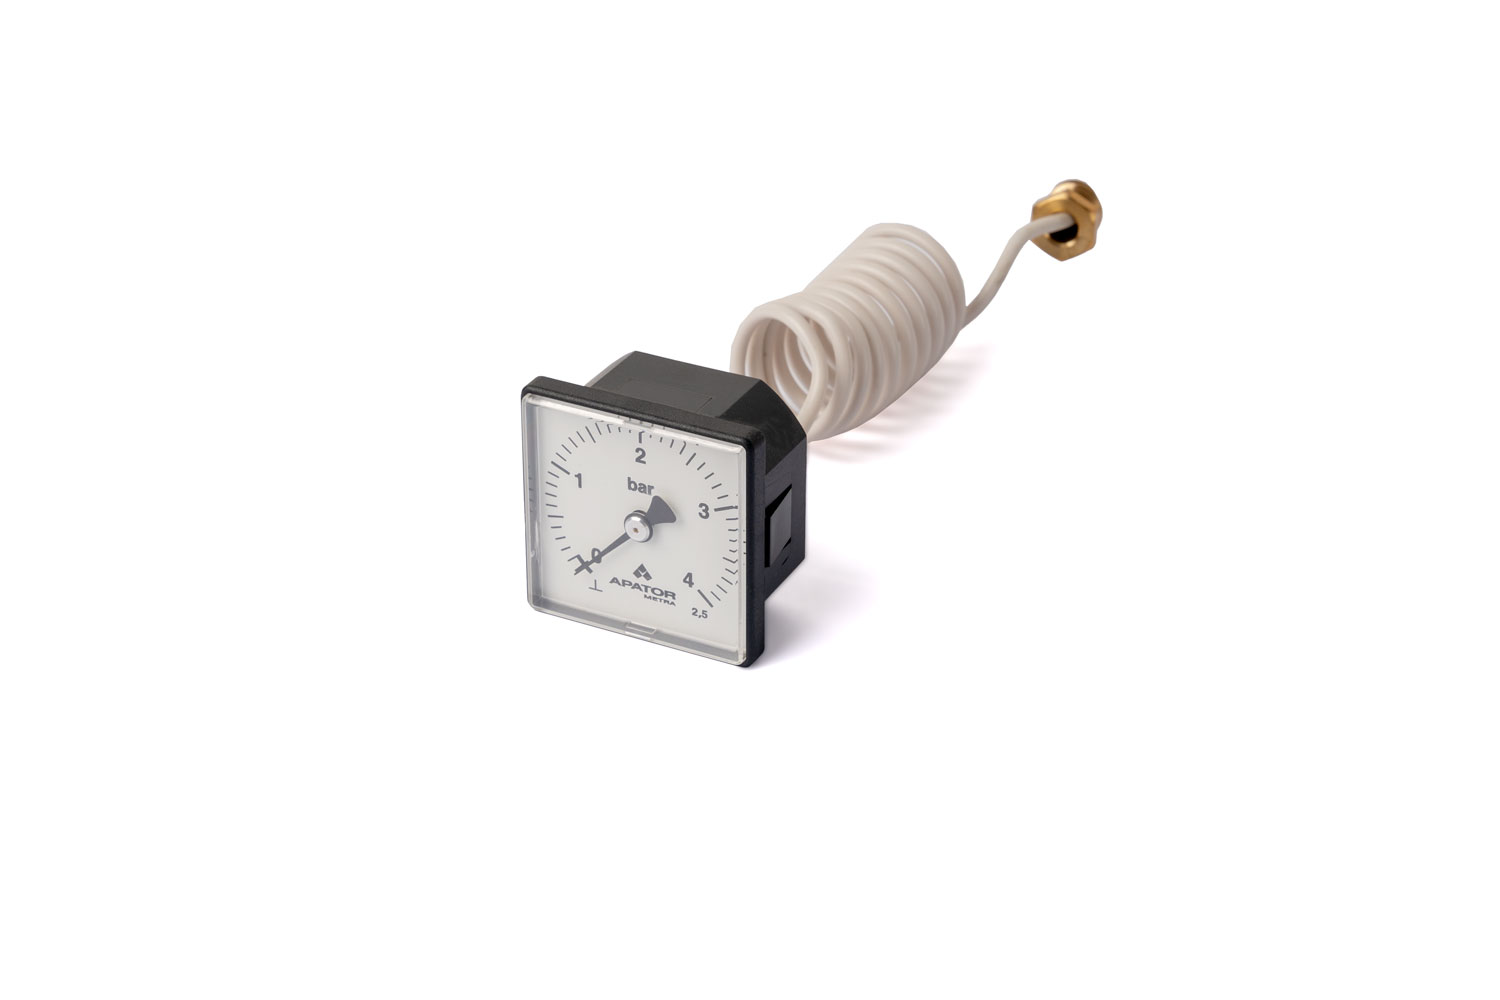
Manometer MCS 48 is intended for pressure measurement in applications where measuring place is different from place of reading. The location of manometer head is independent from the location of measuring place. Its distance is limited only by capillary length. It can be used to measure pressure of liquids and gases that do not crystallize, and do not cause corrosion of copper alloys.
Description
The manometer consists of a flexible sensitive element with transmission mechanism, that is placed in the manometer head, and of a sensor. The sensor consists of a connecting pin with a cap screw, and of a connecting capillary. The capillary can be shaped as required. The manometer is supplied with a connection thread of M14x1 or G1/4. Clack valve ZV4 with connecting thread G1/4 or G1/2 can be used to connect or disconnect the manometer to the system under pressure.
Installation and maintenance
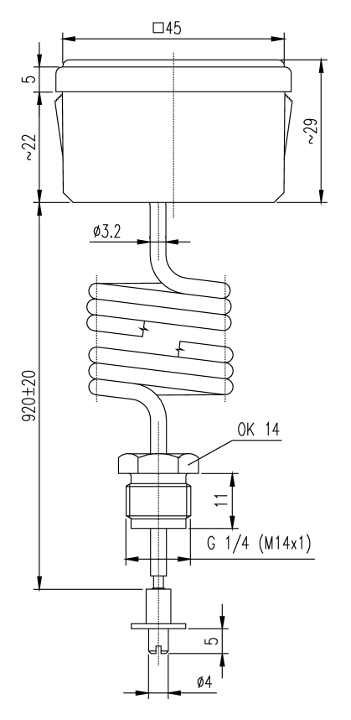
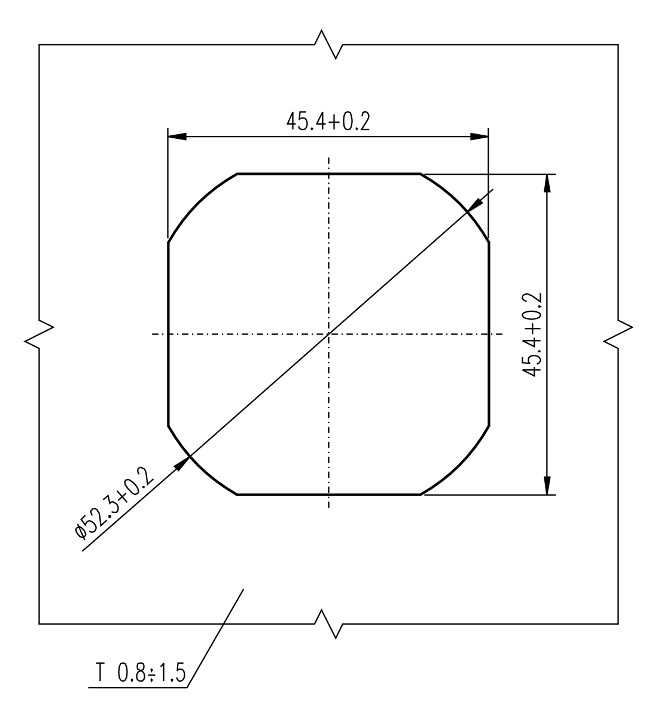
The manometer head can be installed in any position (vertical position is recommended). To install the manometer, push the manometer head into the hole in 0,8-1,5 mm thick plate as depicted on dimensional drawing below. To connect the manometer to the measured system, tighten the cap screw to the fitting or to clack valve. Bending radius of capillary must be 5 mm or bigger.
Technical data
| Scale range |
0-4 bar
|
| Scale division |
0,1 bar
|
| Measuring range – stable pressure |
0-3 bar
|
| Measuring range – variable pressure |
0-2,6 bar
|
| Accuracy |
±2,5 % from scale range
|
| Temperature of manometer head |
5 to 80 °C
|
| Measured medium – max. temperature |
+110 °C
|
| Installation | mounting into the hole according to dimensional drawing |
| Sensor | M14x1 or G1/4 |
| Capillary length | 920 mm |
| Minimal bending radius of capillary | Rmin = 5 mm |
Accessories
Clack valve ZV4.x (not part of delivery).Dimensional drawings
